


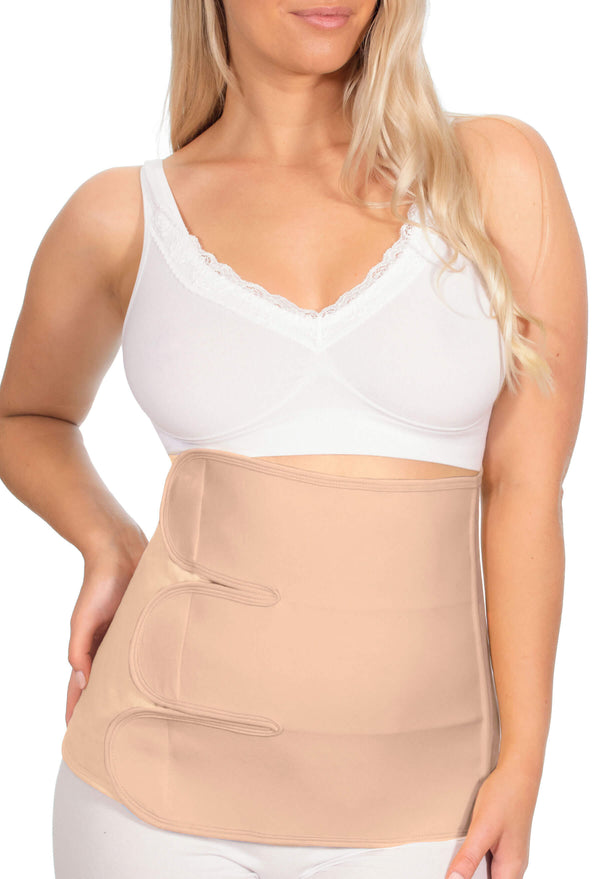
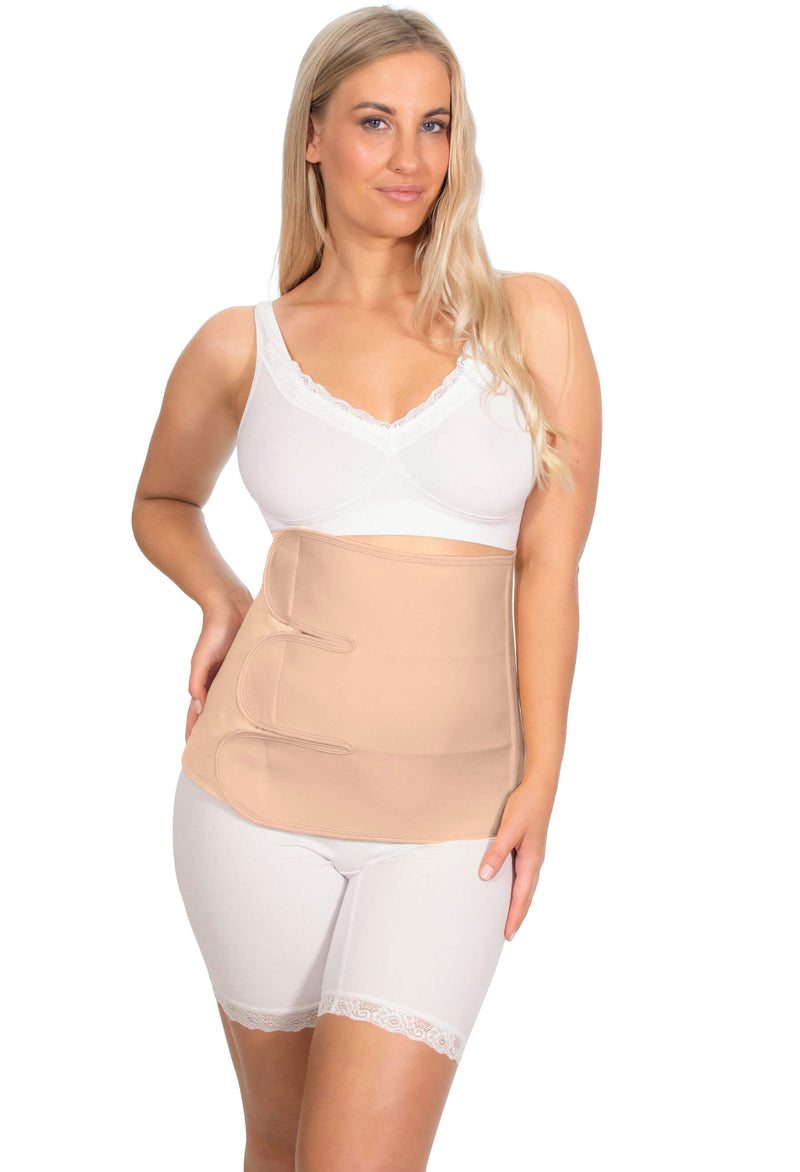
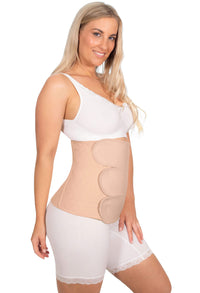
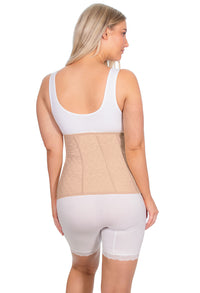
Nude Postpartum Cotton Belly Wrap
- Regular Price
- $74.99
- Sale Price
- $74.99
- Regular Price
- $94.95
- Unit Price
- per
Or Buy now pay later
Zip Pay
4 x $18.74
4 x $18.74
Belly wrapping has been used for centuries as a healing technique to aid in postpartum recovery as it is thought to help bind the abdominal section back together after birth and speed up the contraction of the uterus.
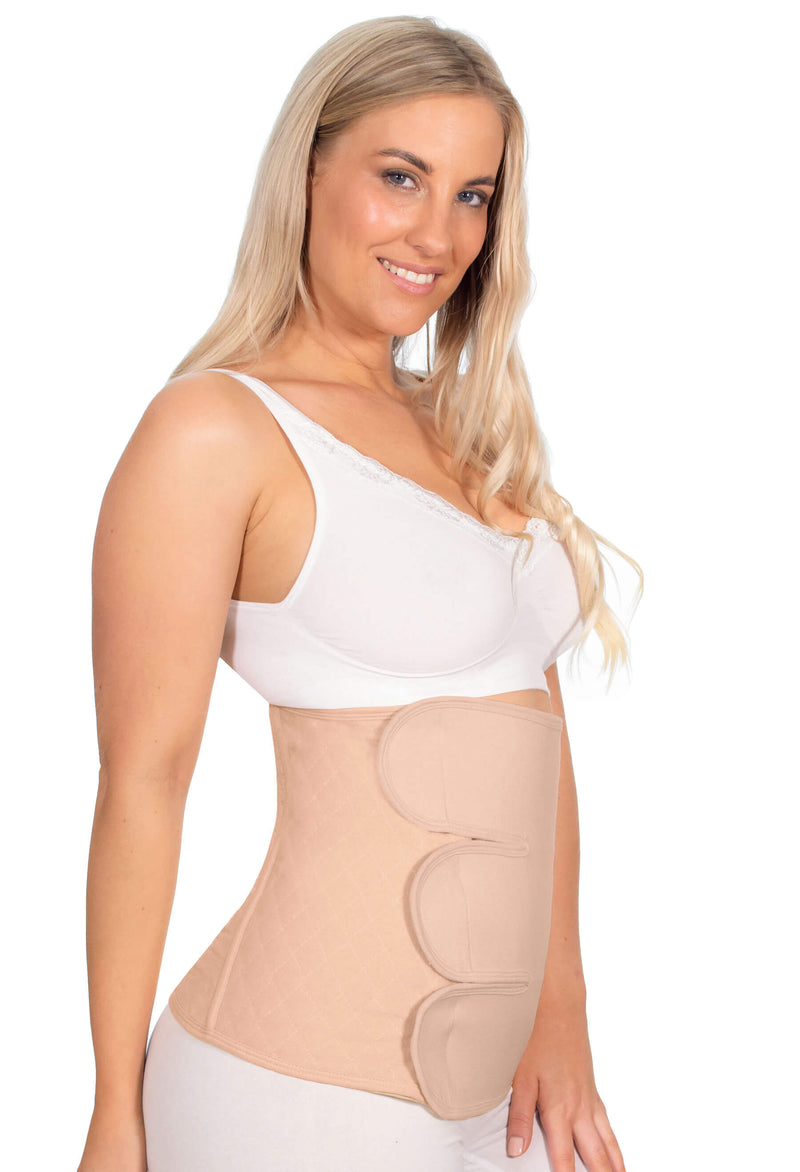
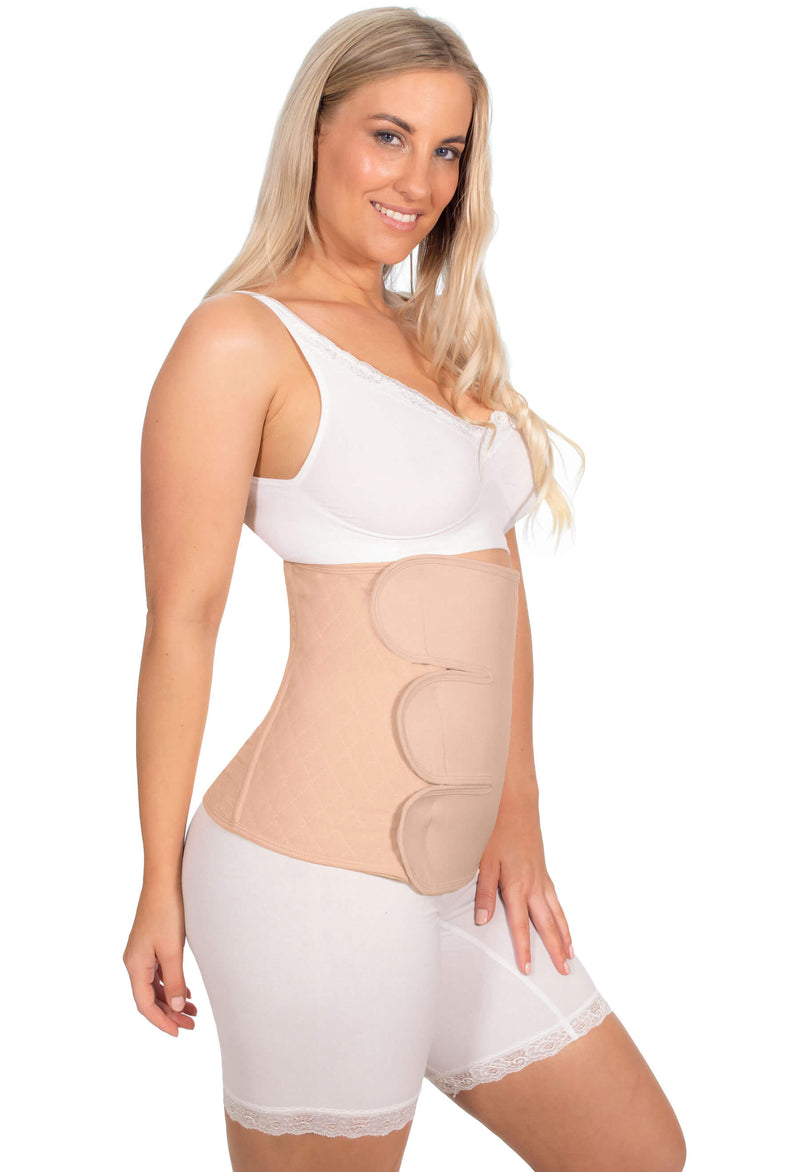
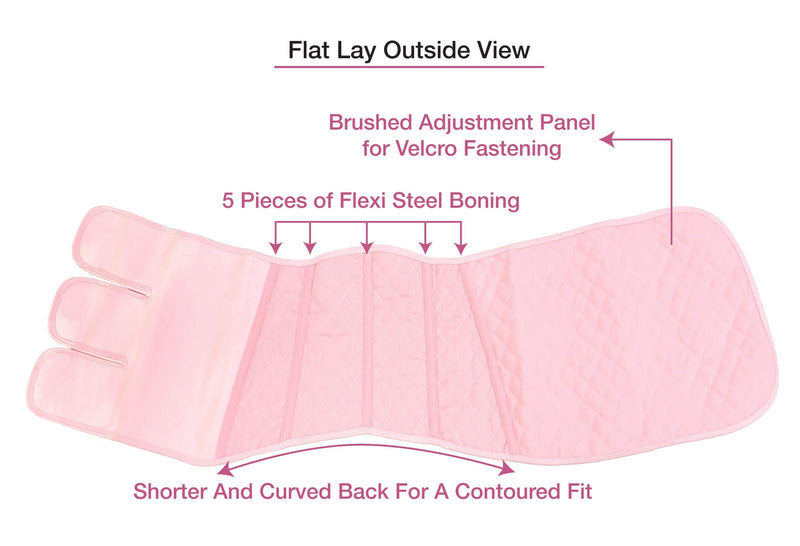
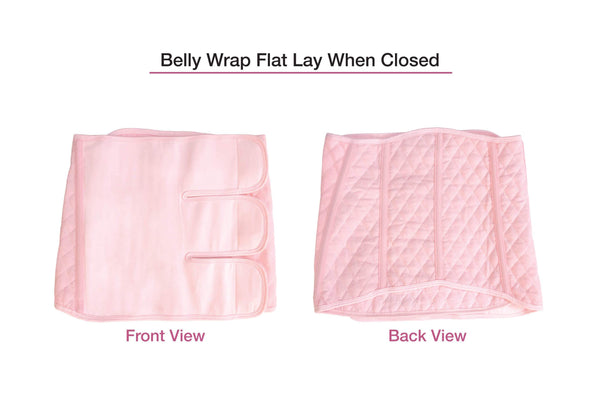
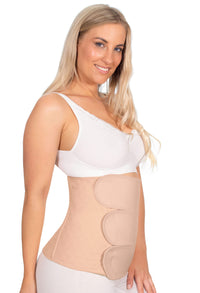
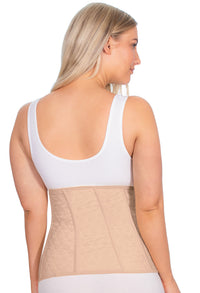
BFree’s quilted cotton abdominal binder applies adjustable comfortable compression. This garment wraps around the back, core and torso and may help accelerate healing the abdominal region after birth. As your abdomen continues to shrink after birth or surgery, you can easily adjust the stretchy velcro straps on this belly wrap to gradually tighten and give continued support to your desired comfort level. Enjoy the breathable soft cotton fabric that is gentle on delicate skin and surgical scars. This trans-seasonal support garment will give an extra layer of warmth in winter and absorb excess sweat and remain breathable through summer.
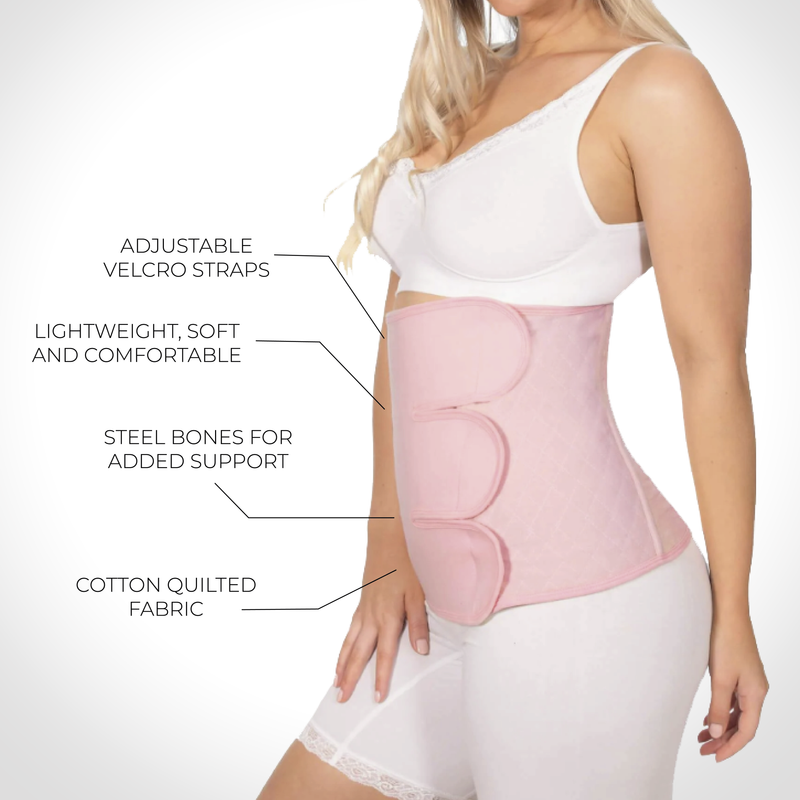
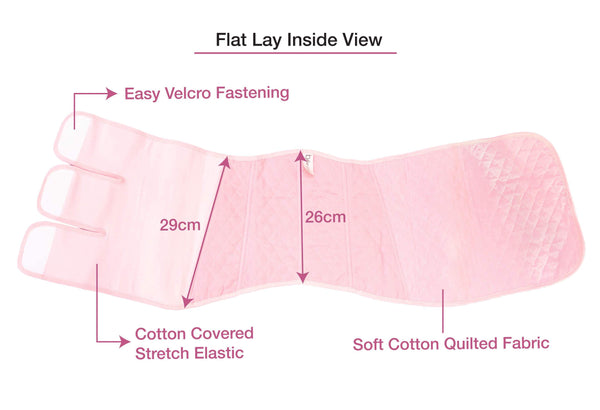
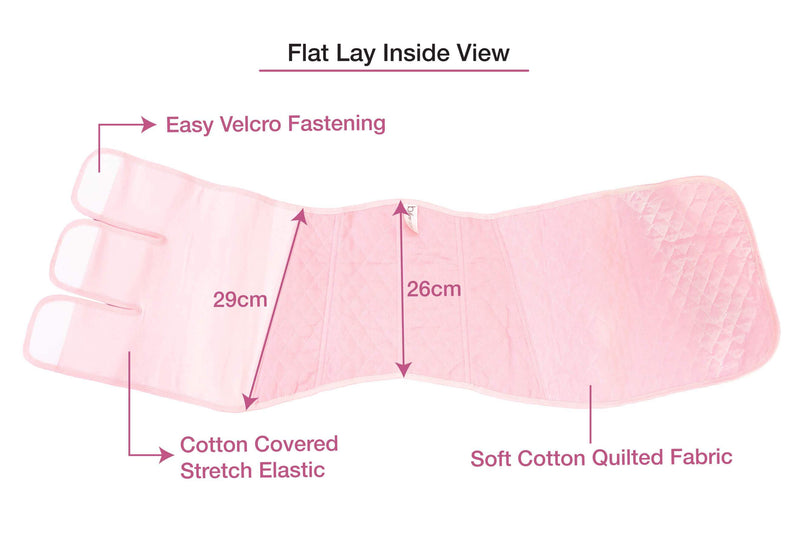
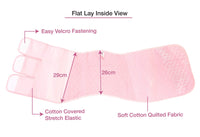
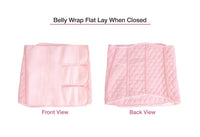
- Comfort cotton quilted fabric
- Lightweight for minimal bulk under clothes
- Adjustable elastic velcro straps
- Get your perfect fit & support level
- Breathable, soft & comfortable
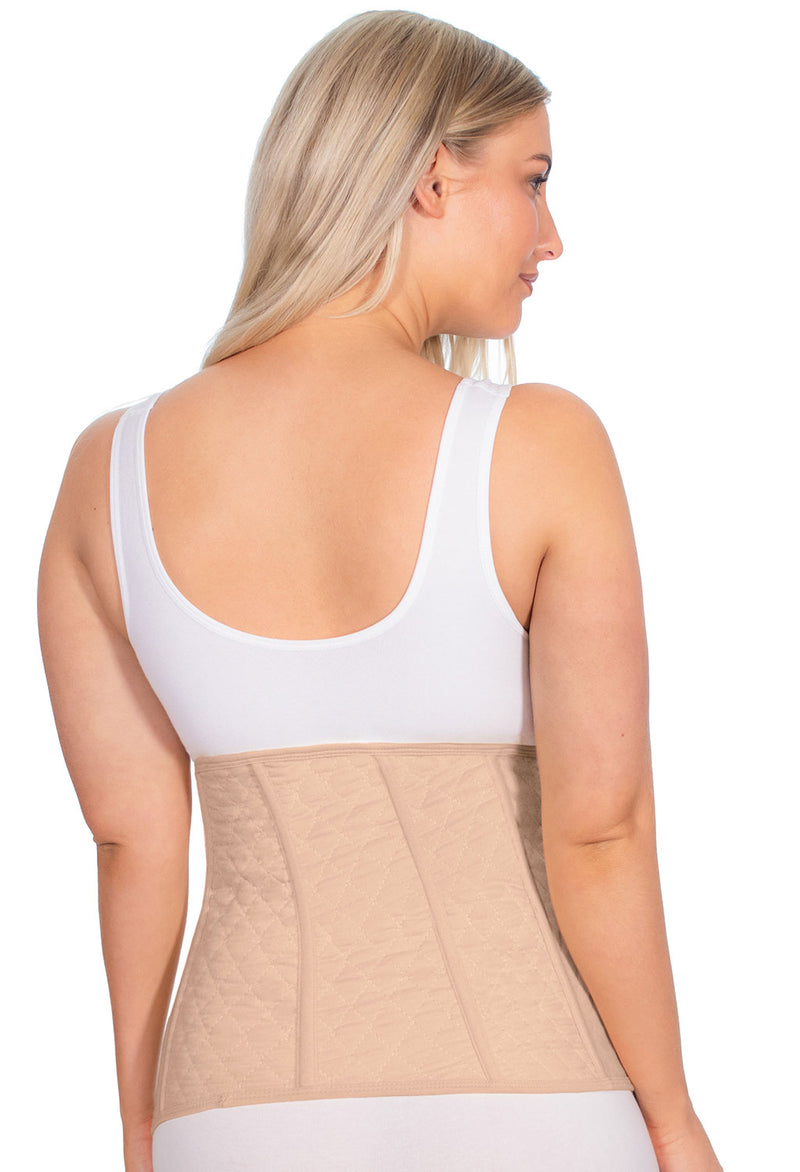
- 5 high quality encased steel bones for added support for the core and back
- Gentle on delicate skin
- 30cm height for generous tummy coverage and support
- 30cm long adjustment front adjustment panel for a fully customisable and flexible fit
Please Note: This is a non-medical garment. In case of medical conditions, we recommend consulting with your medical practitioner to assess if this product is suitable for you.
Fabric Content:
Outer: Cotton/Elastane
Lining: 100% Cotton
Filling: 100% Polyester
Brushed Fabric: 100% Nylon
Care Instructions: Warm machine wash. Line Dry.
With any velcro garments it is important to ensure that when the garment is not in use, the velcro is fastened. If the velcro is left open it can attract dust, fluff, lint and debris that will stop it from functioning properly. Over time if debris continually gets caught inside it can damage the velcro hooks.
Ordering times
We aim to despatch orders with standard shipping within 1-3 business days. For express deliveries, orders are despatched same business day if they are placed by 1pm Melbourne time (AEST or AEDT if applicable).
Orders are despatched from our warehouse in Moorabbin (3189), Victoria, Australia. Please note that we do not despatch orders on Victorian or national public holidays.
Usual Delivery times:
For an estimated delivery time from Australia Post please visit the following postage calculator and type in 3189 (Moorabbin) in the "From" postcode field, and your postcode in the "To" postcode field. Please allow extra time for delivery in addition to the estimated time frame given by the Australia Post calculator due to potential delays.
https://auspost.com.au/parcels-mail/calculate-postage-delivery-times/#/
Once you have placed your order, you can use the Australia Post tracking sent to you by email to check the location of your parcel.
If there have been significant delays and you still have not received your parcel, please call Australia Post on 13 76 78 and quote the tracking number emailed to you. If you have any further concerns you can reach out to us via our submit a request form. Our customer service team will always do our best to help you track down your parcel.
Delivery Options:
Please see options at checkout for all delivery charges. The following options are available:
- Free Standard Shipping in Australia for orders over $99. Use of discount code may void free shipping unless total order payment is over $99.
- Free Express Shipping in Australia for orders over $149. Use of discount code may void free shipping unless total order payment is over $149.
- $10 Standard Domestic Shipping in Australia for orders under $99
- $15 Express Shipping in Australia for orders under $149
- Same Business Day Delivery* in Melbourne (for eligible addresses)
- International Shipping (outside of Australia) including tracking
In case of return, shipping fees are not refundable.
All standard and express shipping orders within Australia are delivered by Australia Post. If nobody is at the address to receive the delivery, the parcel will be left in a safe place. If there is no safe place available, a notification card will be left and the parcel will be taken to a nearby Post Office. Please use the tracking number provided by email to follow the status of your delivery.
*Same Business Day Delivery in Melbourne
B Free Australia is thrilled to introduce our new collaboration with Go People, enabling us to offer customers swift same day courier delivery services. This exclusive partnership allows us to cater to addresses located within a 50km radius of our warehouse in Moorabbin, Victoria. It's as easy as adding your desired items to your cart, entering your details, including your address, at checkout, and reviewing the available shipping rates to determine your eligibility and view the applicable rate. Note that this service is available for same business day delivery for orders placed before 11:30am to eligible addresses in Melbourne. We are committed to providing a seamless shopping experience, and this exciting addition to our Shipping offers ensures that our customers receive their orders promptly.
Click & Collect VIC:
All orders are picked and packed at our warehouse located in Moorabbin.
We offer click and collect from this location as an option at checkout.
B Free Warehouse and Click & Collect
Hours:
• Monday to Thursday: 7:30am-3pm
• Friday: 7:30am-2pm
• Closed weekends and public holidays
Pick up outside of business hours is available by appointment only.
Address:
686a South Road
Moorabbin VIC 3189
Australia
Duties, Taxes and/or regulatory fees:
The customer is liable for any duties, taxes and/or regulatory fees levied on the shipments by the destination country regulatory authorities. For more information on whether any fees or duties will be imposed on your purchase, please contact your local customs office.
Carrier Brokerage fees:
The customer is liable for any additional brokerage fee for orders arriving from outside your country. These charges, if applicable, are assessed upon the delivery of your postal carrier and must be paid by the order recipient. For more information on carrier brokerage fees, please contact your local postal carrier.
Changes: To change a submitted order, call us on 03 8007 3535 or reach out to us via our submit a request form.
We recommend ordering according to your usual Australian standard size. If you do not have an idea of your approximate AU size, you may check the size chart for body measurements and look on each B Free product to find your corresponding B Free size.
As a general guide, we recommend ordering tops & slips according to your bust size, shapewear according to your hip size, and underwear according to your hip size. Note that this can vary depending on your body shape and personal preference.
| AU Size | Bust (tops & slips only) | Waist | Hip | Thigh circumference at widest point (anti-chafing midi shorts only) |
| Measurements in cm | ||||
| 6 | 84-87 | 65-68 | 88-91 | 51-53 |
| 8 | 88-92 | 69-73 | 92-96 | 54-56 |
| 10 | 93-97 | 74-78 | 97-101 | 57-59 |
| 12 | 98-102 | 79-83 | 102-106 | 60-62 |
| 14 | 103-108 | 84-89 | 107-112 | 63-65 |
| 16 | 109-114 | 90-95 | 113-118 | 66-68 |
| 18 | 115-121 | 96-102 | 119-125 | 69-71 |
| 20 | 122-128 | 103-109 | 126-132 | 72-74 |
| 22 | 129-135 | 110-116 | 133-139 | 75-77 |
| 24 | 136-142 | 117-123 | 140-146 | 78-80 |
| 26 | 143-149 | 124-130 | 147-153 | 81-83 |
If you are still unsure about your size after referring to this guide, email our friendly customer service team at contact@bfreeaustralia.com.au. Be sure to include your relevant body measurements and the style that you are interested in.